Saturday 29 March 2014

Bedside Storage

We are on a roll with the storage!

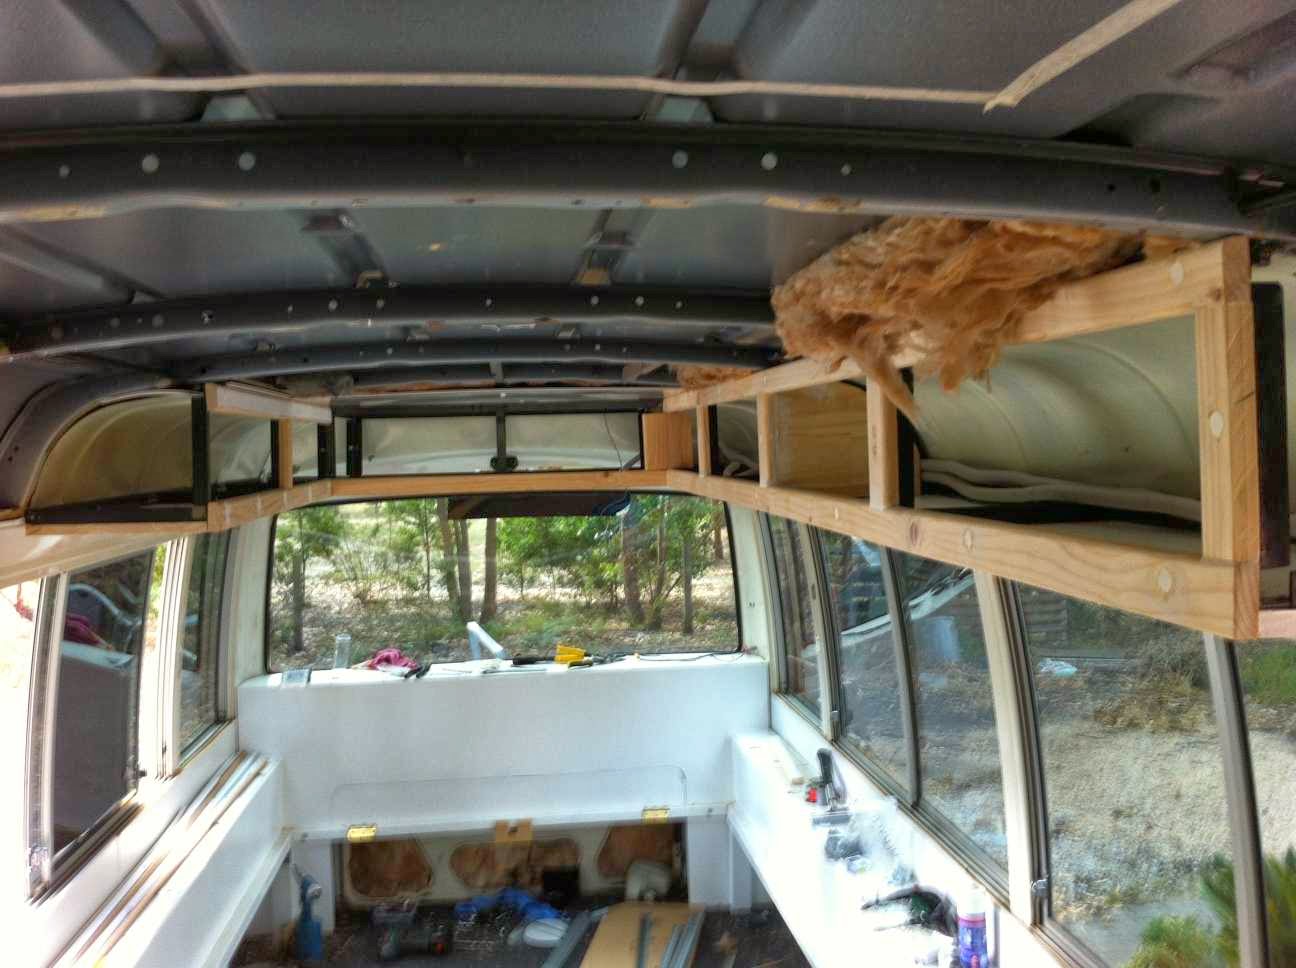
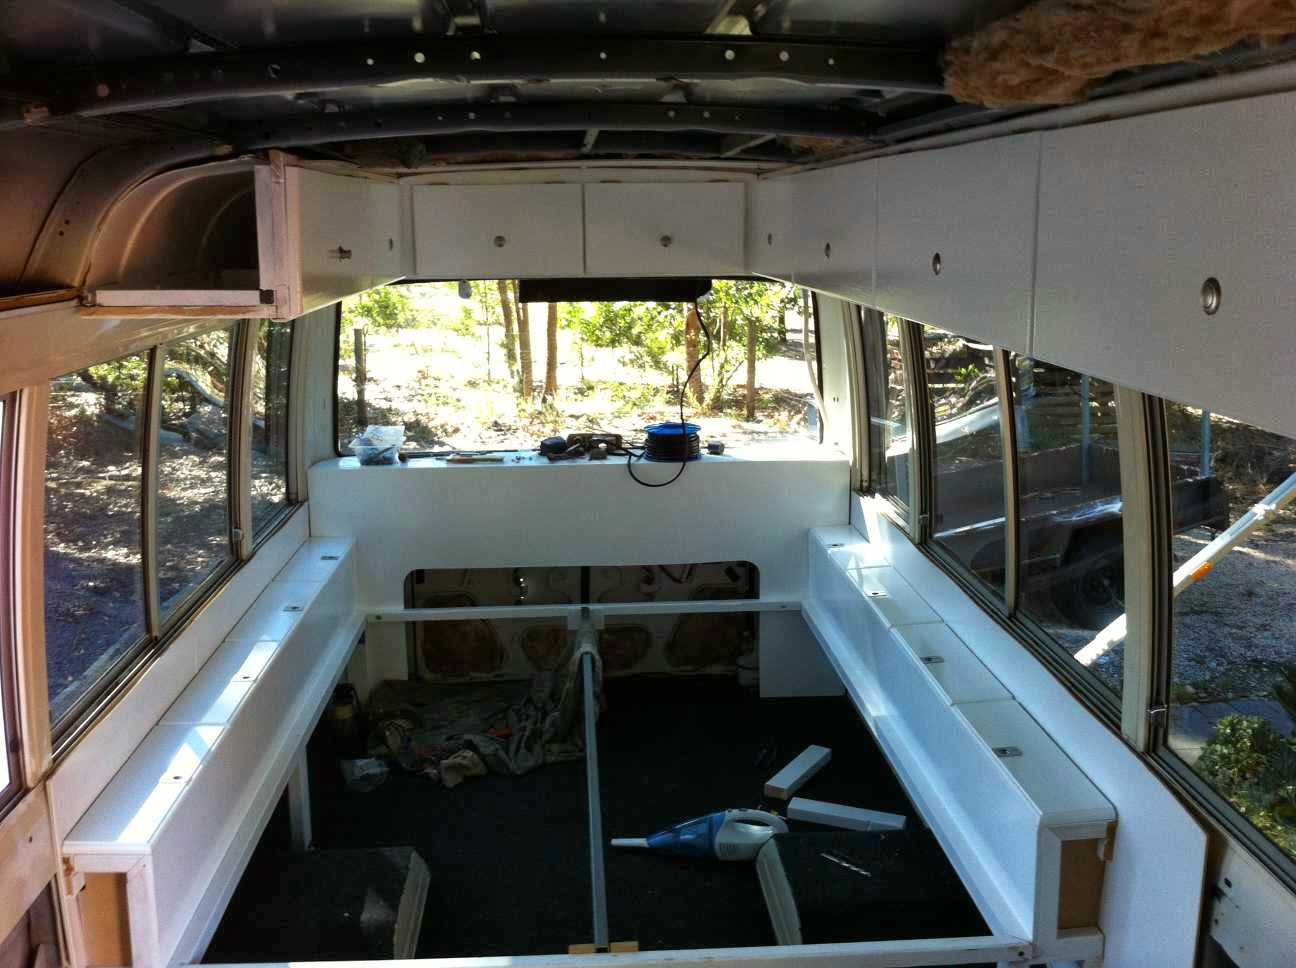
This post is about the bedside storage cabinets for the bus.

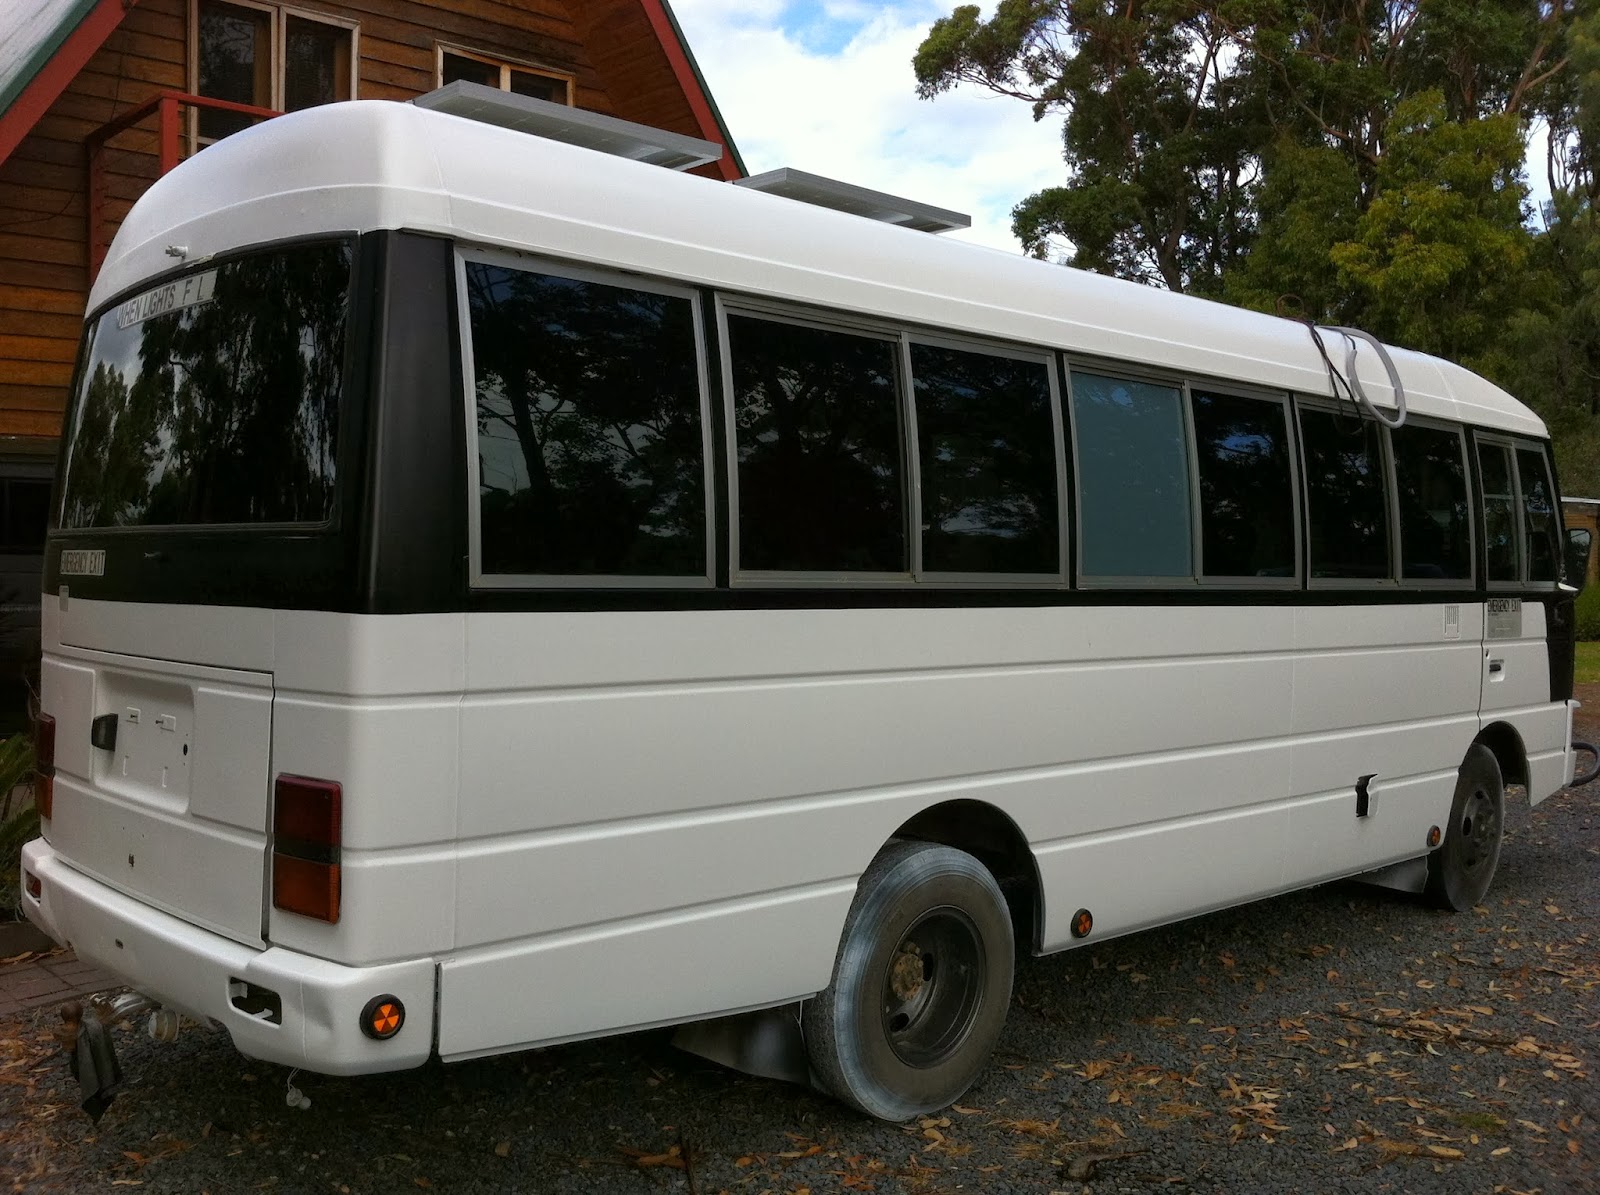
First thing to do was to insulate the walls and line the sections with plastic coated paneling. Then we attached the 'brackets' for the cupboards to the side of the bus. In this case, it was a length of pine. The legs have been bolted to the floor using 'L' brackets. We also made a bedhead out of MDF and painted it up. As you can see, this was some time ago as the picture shows untinted windows! The bedhead will have the USB ports for gadgets, reversing camera mounted and the rear brake light on it. There will also be a little more storage on it... but more about that later!

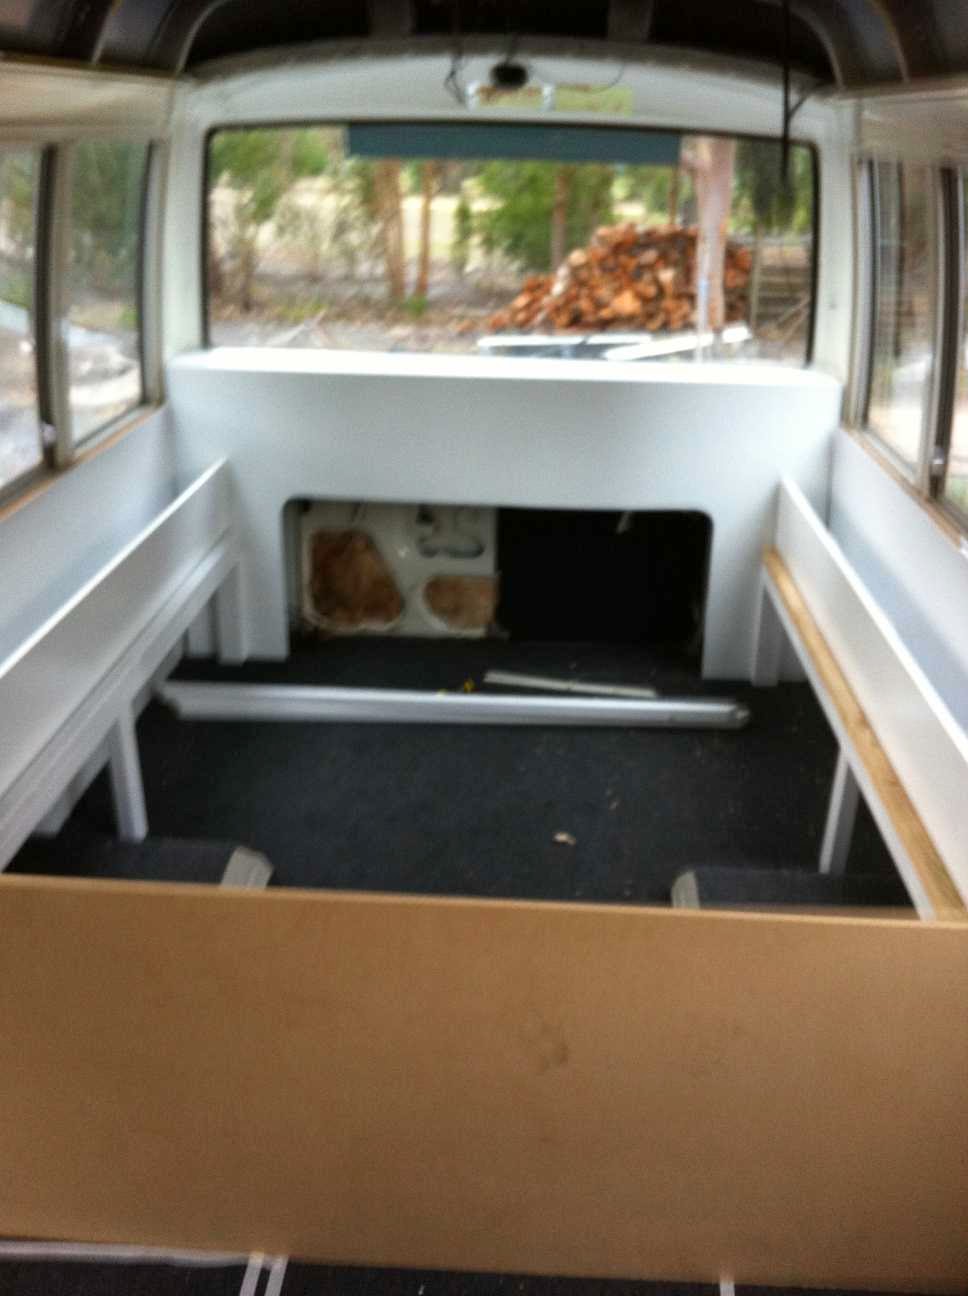
Next we made the boxes from MDF and pine.


Attached them with bolts to the brackets. Ignore the panel at the front. I think we were testing what it might look like with the boor of the bed covered in.


Next we routed, painted and attached the cupboard lids. They have tension hinges so they don't just pop open when we go over a bump and they won't fall on your fingers when they are open. The handles are little ring pull ones in brushed nikel to match the top cupboards. They fold down flush so we won't get anything snagged on them.


The cupboards have been divided into sections using the same lining as on the walls.


All done!


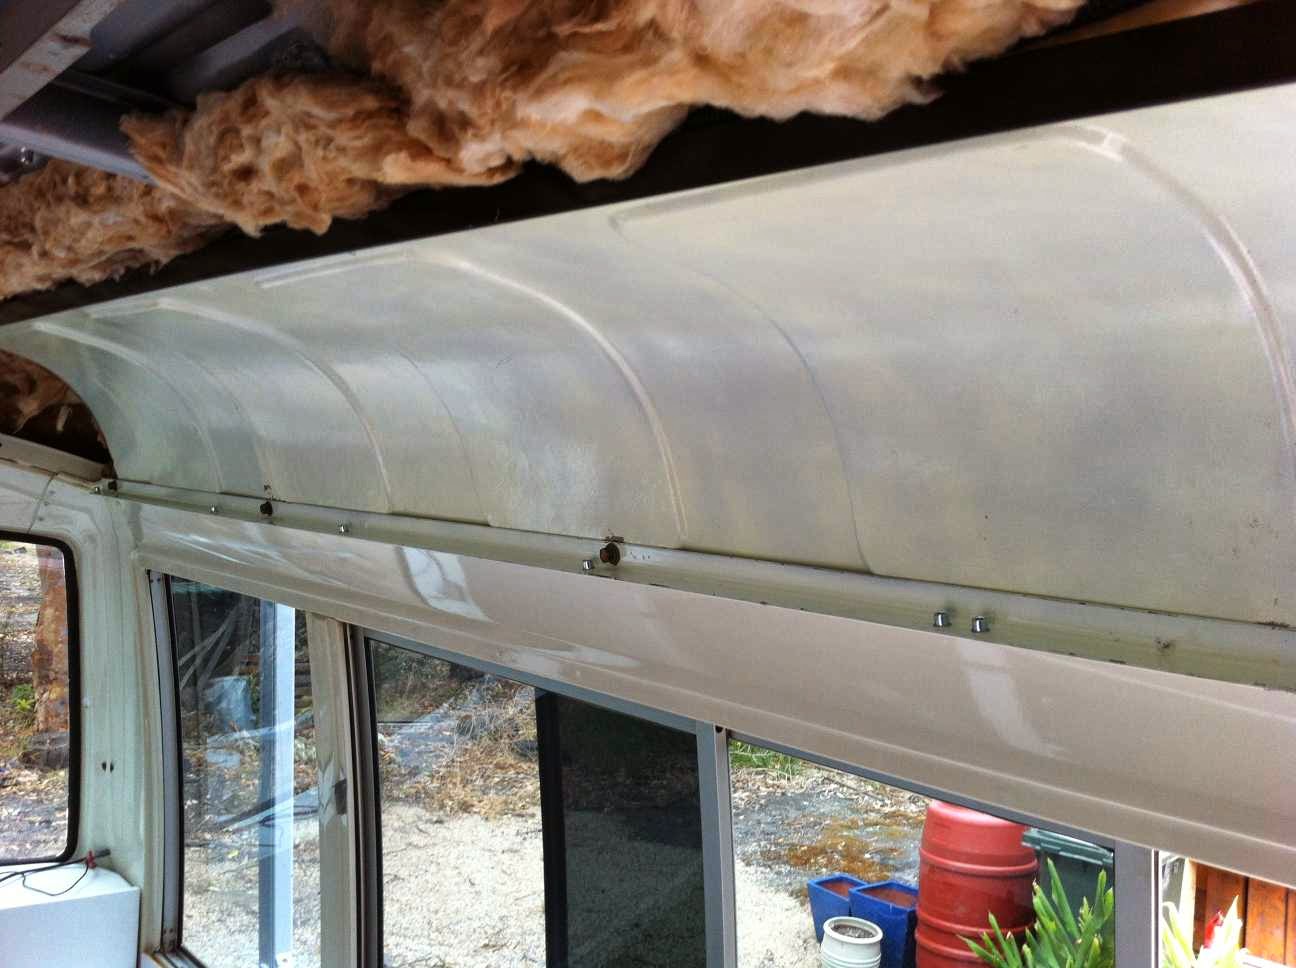
And a comparison with the top cupboards. You can see that we have started some wiring and lighting... but as usual... more on that later!

Thursday 27 March 2014

Top storage cupboards

This post feels like it has been a VERY long time coming.

Remember these?
These are the top lining panels for the bent bits above the windows. I salvaged them from the strip-out, to use around the insides of the cupboards. A bit of paint and some reinforcing behind those cracked parts and they look great.

Anyway, back to the post about these top storage cupboards...

We thought long and hard about the best stuff to use when building these cupboards. Finally we settled on 3mm steel angle. Cheap, paints well, won't cause electrolysis when attached to the steel frame and it is very strong. The engineer stipulated that all steel structural stuff needed to be at least 3mm so this ticks that box.

Once again, the rivnutter came in VERY handy. 

First we insulated the roof and reattached the lining. The insulation has heat AND sound rating which should be good for road noise.

  See the rivnuts for the frame? The rivnuts to attach the steel frame to the bus are M8 but the ones on the frame, which the timber lining will be attached to, are M6.

Frame is bolted on. At this point it looked very weird and wonky but it WAS level... just an optical illusion when compared to the bendy bus.

Other side and big back cupboard too.

We had to see if the melamine dinner set that we got off my family for Christmas would fit in there!

Timber covers the frame (pine). Hubby routed it beautifully and puttied the bolt holes where it is bolted onto the steel. The engineer is very particular about the fact that it should be secured in this way.

Here you can see the bigger end cupboard lining going on. It is laminated pine from Bunnings. The other panel (missing in the photo) has the bus speakers built in. 

Partially painted with the final colour and looking pretty good!

COMPLETED with hinges, doors and special motorhome latches. They are the 'small' size in brushed nickel finish. The knobs pop out when you press them. In this pushed in position, they are locked and will not come open. Whe they are popped out, they clip open like a regular kitchen cupboard latch. I got them for a good price on eBay (click here to see eBay listing: http://www.ebay.com.au/itm/321205191473?ssPageName=STRK:MEWNX:IT&_trksid=p3984.m1497.l2649 )

Popped out, ready to open.

Open. The hinges are just 'easy-fit' ones from Bunnings.

The deeper back cupboard with speaker installed.

You can't imagine how happy I am! Having these installed means that we can work on the bed/boot with struts and cute side cupboards...


                                                              ...but more about that later!

Saturday 1 March 2014

Last of the tint

The last few bits of tint went in today.

I'm impressed by the white frost tint on the bathroom window (see previous posts for links to the supplier's eBay store).
Nice and frosty! Helloooo, can you see me? This is the view from the inside.

From the outside. The big test will be when it is dark outside and we turn the light on inside.

We decided to only go with the one window and double dark tint the other where the wall will intersect it. When it is double tinted, you can barely see through and it will keep the bus looking a bit more uniform having them all dark except one.

The window is so bright, I'm seriously considering doing away with the glass frosted door that I had planned for the bathroom and building one from ply and Aquapanel instead.