I wanted to be able to see out of the back window and adding the cupboards squared up the gap so a blind will fit in there more easily. It also means the reversing camera can be installed inside the bus, out of the weather and hidden away. Hubby wanted to close in the back window so the whole back would be storage. I guess this is a little compromise.
The bedhead space is handy for charging gadgets using a solar cell or the USB port we have installed. You can also toss a book up there when you're done reading and it is time for sleep... not to mention the remote control for the TV!
Here's how we did it.

Tint the window behind it nice and black so that when you're looking from the back of the bus, you don't see screws etc on the back of the cupboard (we used the same tint as for the rest of the windows... just more layers!)
As you can see, the cupboards are made from laminated pine from Bunnings. Lighter than MDF and easy to work with.
Cut, screw, putty, paint is basically how it works with these cupboards! There was a bit of messing about with cardboard templates and a jigsaw, to get the right curves. The back of the cupboards is the same lining as the walls. Plastic coated thin ply from Mitre10.
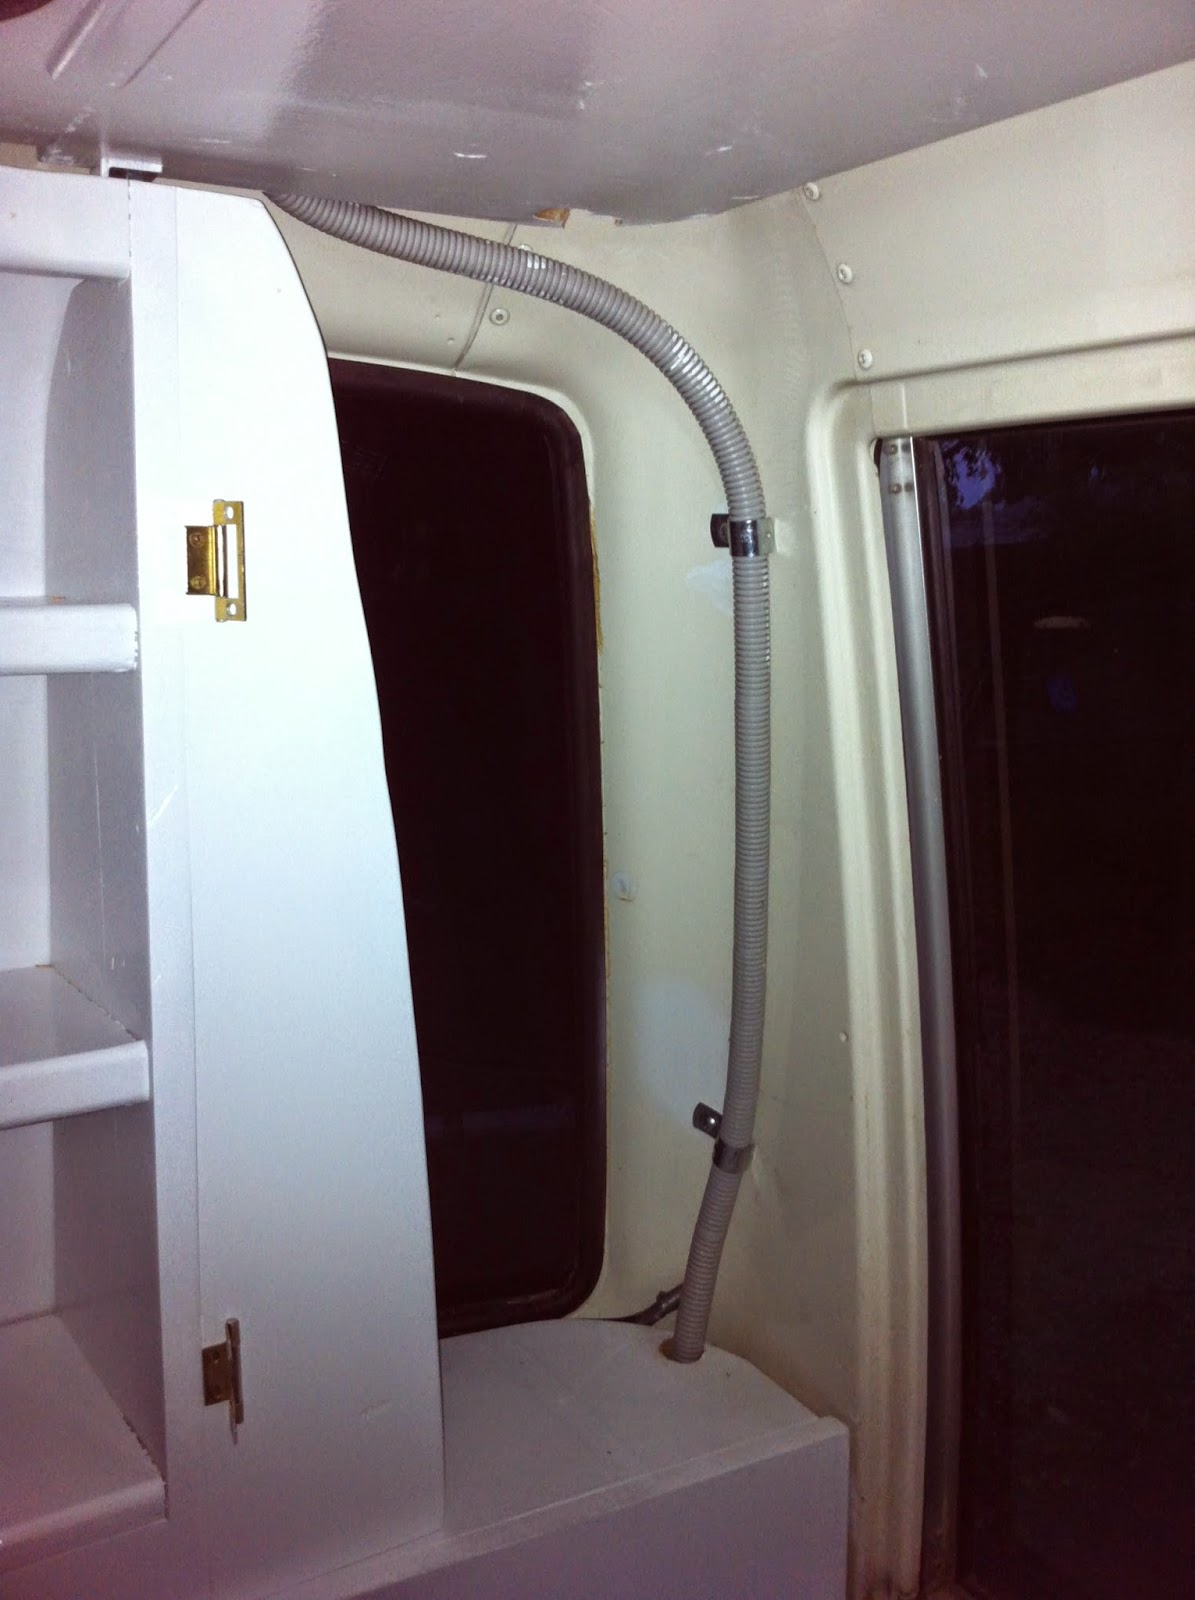
This cupboard hides the electrical cable for the USB port and the reversing camera cables. It is a good idea to plan out the electrical parts early, so you can hide as much as possible as you go. That conduit and the saddles are from Bunnings too. Cheap and easy. I believe it is the 20mm conduit.
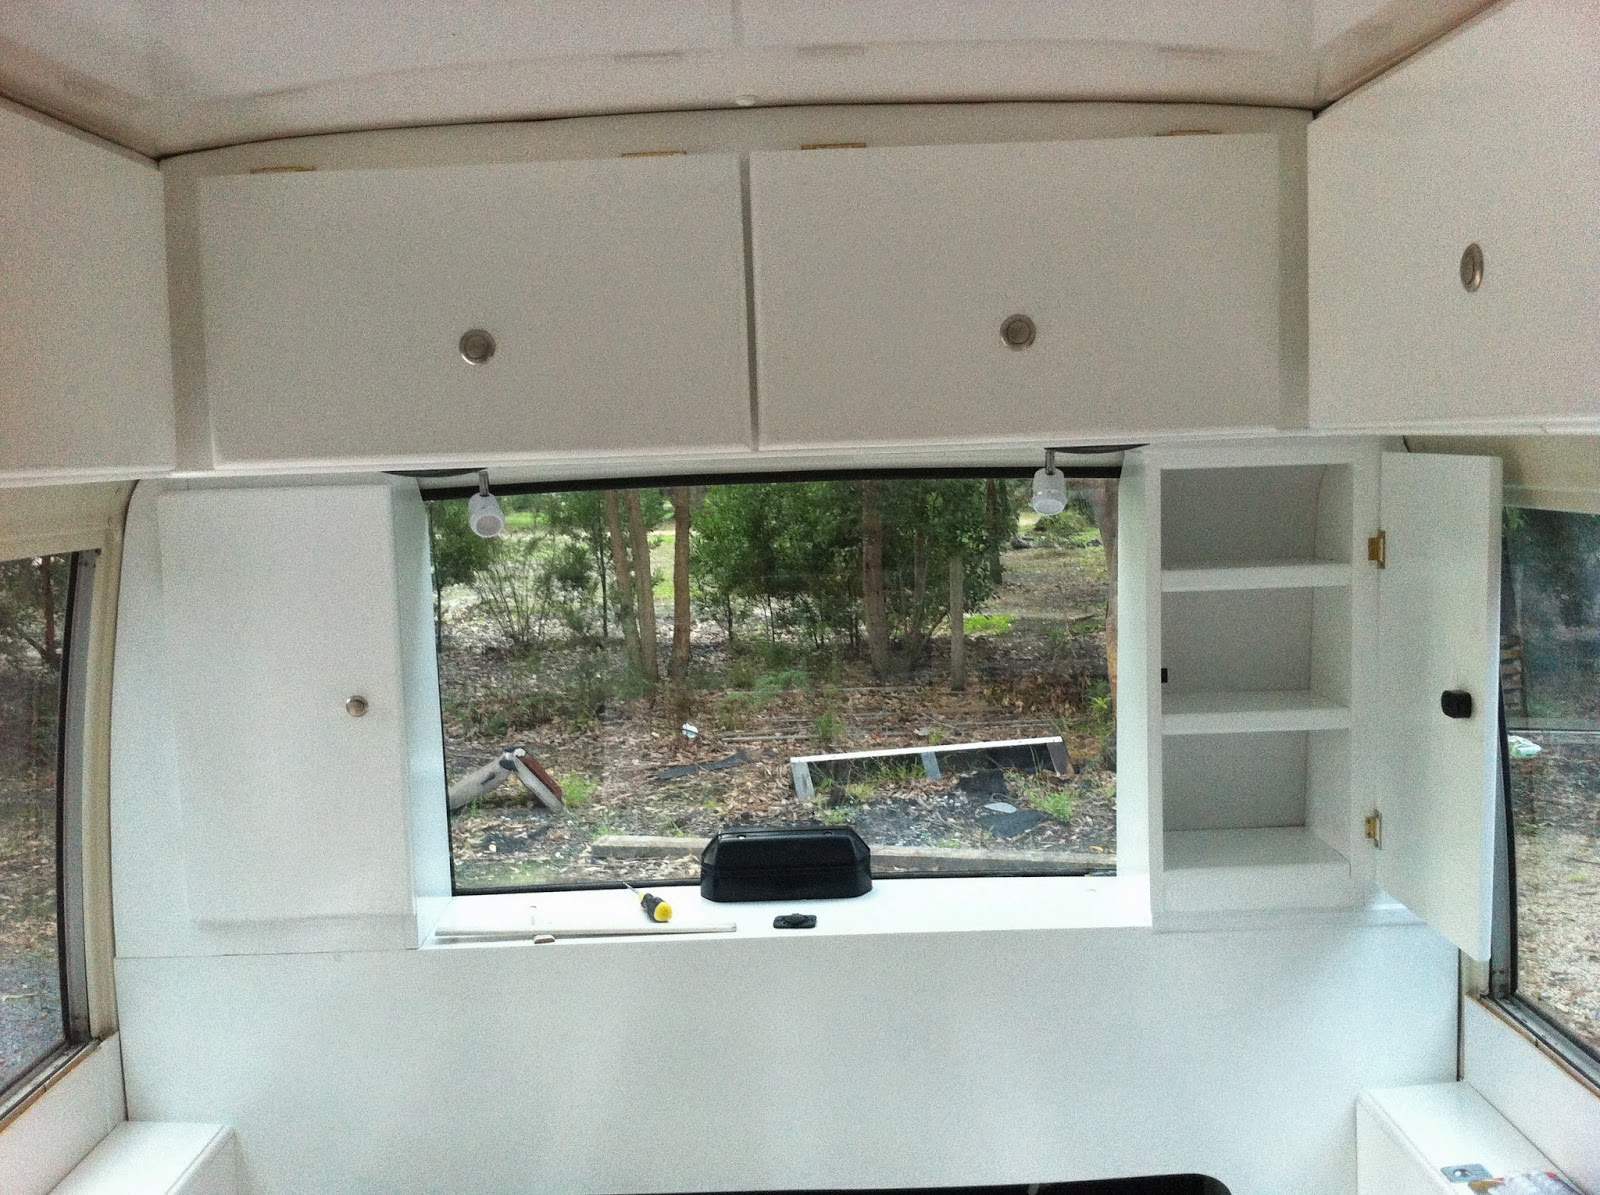
Make some doors, attach matching locks (see the blog post about the top cupboards for eBay link) and tidy it all up with some timber edging.
No comments:
Post a Comment